
Hi, friends! This is Danielle, the records coordinator at Hinsdale Ortho. You can take the best photos ever in the comfort of your home by following these simple steps!
Have you ever had a tough time finding the right words to describe your dental problems to Hinsdale Ortho? We are here to assist you! Don’t be afraid! The best way for us to understand your problem and help you is to take pictures.
Here are the steps:
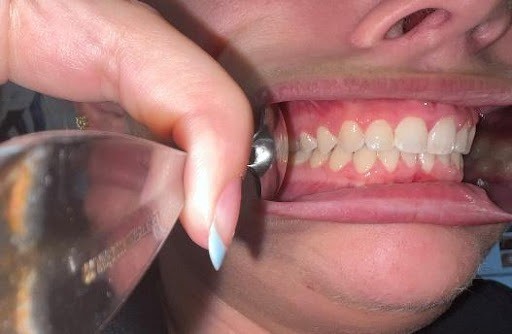
All you need is a friend to take the pictures for you and two spoons (or just your fingers if spoons aren’t available). It’s done! Super simple to use. Additionally, a little ChapStick never harmed anyone. Aid those lips while you restore your cheeks (hopefully, you are using our amazinggg Hinsdale Ortho ChapStick). Let’s now provide you with some advice on how to ensure that these pictures are killer!
• Make sure your flash is on (try to avoid shadows).
• Try to capture just your mouth and teeth if possible (fewer distractions)
• Relax your lips – don’t make them tense (chiillllll bro)
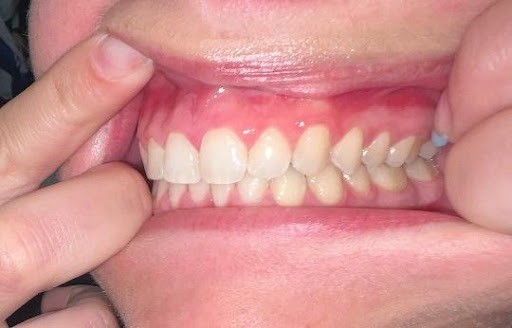
• **Keep your teeth together! Bite on your back teeth during the photo (we want to see that beautiful bite)
Alright! Are you ready kids?!? Aye Aye, Danielle!! (SpongeBob reference)
First Photo – Front Center


Bring/pull both cheeks back outwards and bite on your back teeth. (Niiiiceeee)


For the upper photo, tilt your head back and pull your cheeks/upper lips in the opposite direction of the top of your head (to move the lip out of the way). Try and capture as much of the biting surface of your teeth as possible. (Say AHHHHH ????)
Lower photo – tilt your head down now and pull cheeks/lower lips up towards the ceiling (to move the lip out of the way). Keep your tongue towards the back of your mouth or lift it out of the way. The same thing, try and capture as much as you can of the biting surface and get all those teeth in there! (Gorgeous!)
Guess what!?! YOU DID IT!! WOOHOOO! Now all you need to do is email the pictures with your question to se****@***********ho.com. Also, of course, keep those super good-looking photos and use them for your phone background. ???? Let your next orthodontic treatment become easy…
-Danielle